
First of all I want to mention that this method is not just for farm fresh eggs. Store bought or strait from the coop, your end result will be beautiful hard boiled eggs!
Have you ever tried to peel a farm fresh hard boiled egg? I have, and it’s usually not a pretty sight. Unlike store bought eggs that have been sitting around in refrigerated containers for who knows how long, the shell of a fresh egg will often stubbornly refuse to let go of the egg white leaving you with a lumpy, broken mess!!
That was not my only problem with hard boiling eggs. I usually over boiled them and ended up with a green ring around the yolk…. For some reason greenish colored, lumpy deviled eggs are not very appetizing! So I started researching and experimenting, and experimenting, and experimenting,… Finally I found this method that consistently gives me the beautiful sun colored yolks and EASILY peel-able eggs I’d been dreaming about!
Start by placing a pot of water on the stove to boil. Make sure it’s enough water to cover the eggs. While your waiting for the water to boil pick the eggs you’re going to boil.
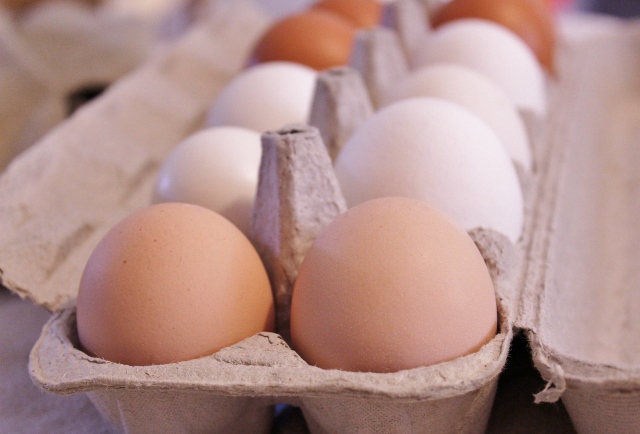
You will want eggs that are close to the same size so they all cook evenly, and if you are using eggs from your coop make sure they are clean. (Here is a link to a post with tips on gathering and washing your farm fresh eggs). Once you have picked your eggs, take a (clean) thumb tack and poke a small hole in the fat end of each egg. I know it sounds a little weird, but trust me, this really works!
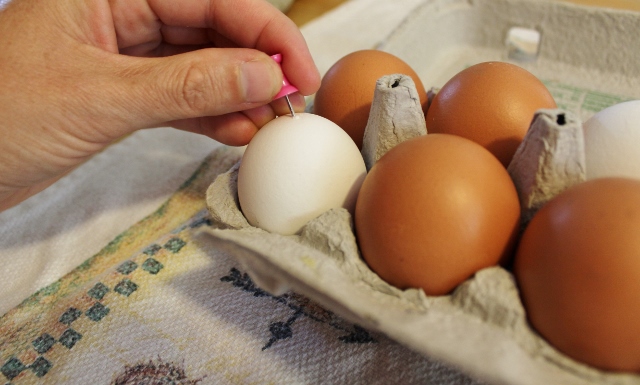
Be careful. You want to make a tiny hole in the shell where the air sack is, but not poke through the membrane inside. When the water is at a hard boil and you have a tiny hole in each egg, gently place the eggs in the boiling water and set the timer for 15 minutes.
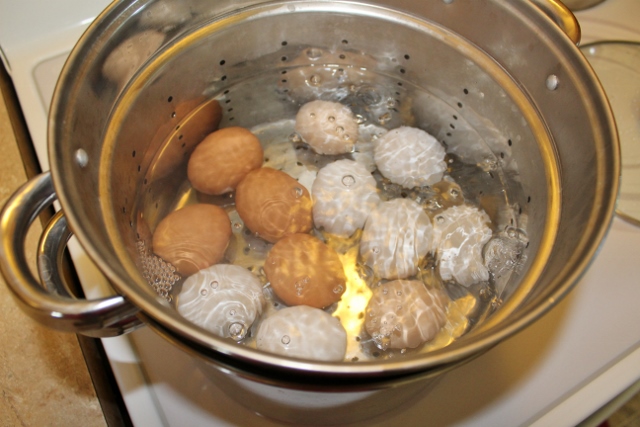
I use this pasta insert to gently lower them in. (easy peasy)
Keep them at a boil for the entire time. If you pushed the tack in to far you will see streams of egg white floating in the water. It’s no big deal, that egg will just not be as pretty as the rest. After you do this a few times you will get the hang of it.
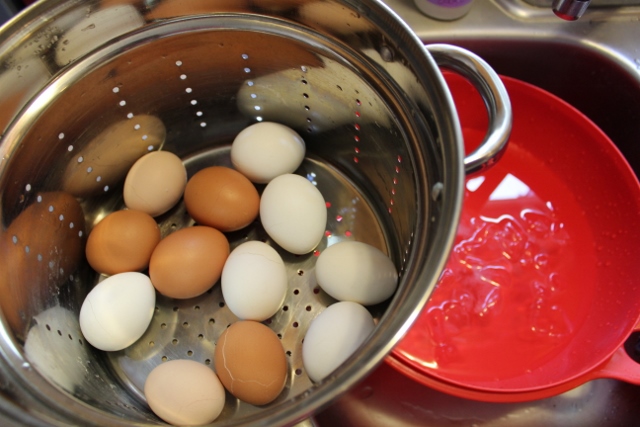
While they are boiling, prepare a bowl of ice water in your sink. When the timer goes off immediately remove the eggs from the boiling water and dump the hot eggs into the ice water. The shell will cool and shrink faster than the meat of the egg, and if you look closely you will see that some of the eggs are cracked. This is actually a good thing, and when I said “dump” the eggs into the ice water I really do mean DUMP! The more cracks they have the easier they will be to peel.
Wait about 15-20 minutes and take them out one at a time to peel.
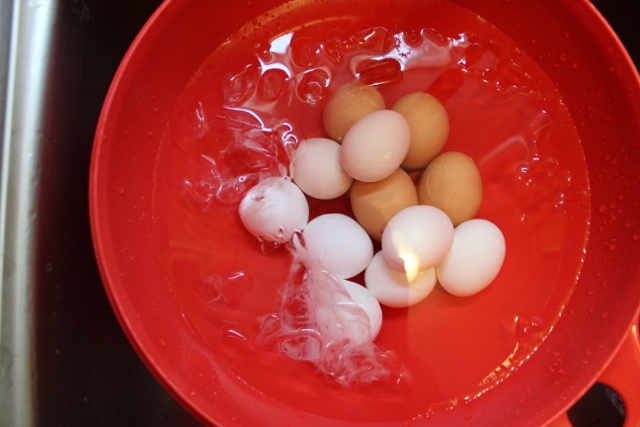
I usually set the timer for 15 minutes again when I put the eggs in the ice water. You don’t want to procrastinate to long to peel them or they won’t be easy to peel, and you don’t want to take them all out of the water at the same time to dry before you peel them. Trust me, it just works best to take them out of the water one at a time.
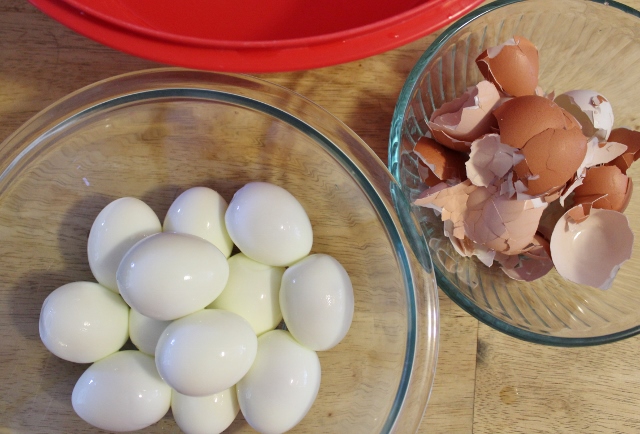
I’ve been using this method for over 3 years now and I usually get all of my eggs to peel easily. I still get a hard to peel egg sometimes, and even with all the practice I’ve had I still manage to poke the thumb tack in further than I want once in awhile. I recommend boiling a couple more eggs than you actually need just in case. I think you will be AMAZED at how well this works!
Here is a quick video tutorial:
This post was shared at: Weekend Potluck – Our Simple Homestead Blog Hop –


Marta
All you need to do for easy-peeling farm fresh eggs is to steam them over, not in, boiling water. I usually do 20 minutes for room-temp eggs, and 25 minutes for eggs out of the fridge. I discovered this when a friend who uses an egg steamer didn’t understand why I had trouble with fresh eggs since she did not.
Stephanie
Great tips! So many people ask about this when they get farm fresh eggs from us!
sufficientacres@gmail.com
Thanks Stephanie!
Homemade Thousand Island Dressing
[…] You will need 1/2 a cup of mayo (here’s my homemade mayo recipe), 3 tablespoons chili sauce or ketchup, 1/2 a cup of sweet relish, and one hard boiled egg chopped into small pieces. (Here is a great trick for easy peel fresh eggs.) […]
Sweet Relish Deviled Eggs
[…] off by hard boiling a dozen eggs. Here is my tip on how to boil and EASILY peel farm fresh eggs. (It’s a life saver if you have very fresh eggs and you don’t want them mutilated […]